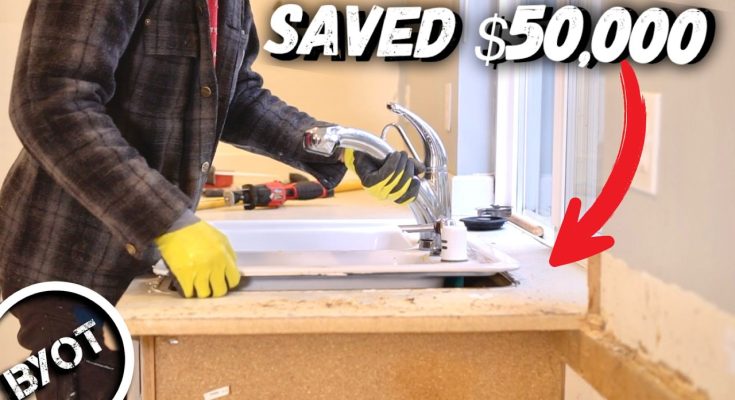
A kitchen remodel is one of the most impactful ways to upgrade your home, but hiring professionals can get expensive. If you’re up for the challenge, a DIY kitchen remodel can save you thousands of dollars and give you a sense of accomplishment. Here’s a step-by-step guide to tackling a DIY kitchen remodel from start to finish.
1. Plan and Prepare
Every successful DIY remodel begins with a solid plan. Start by assessing your kitchen’s current layout and identifying what needs improvement. Are you changing the layout or keeping it the same? Will you replace or paint cabinets? What appliances and materials do you need to update?
Next, set a budget that accounts for materials, tools, and unforeseen expenses. Use online tools or sketch your design to visualize your new kitchen. Measure your space precisely so you can shop for cabinets, countertops, and appliances that fit.
Finally, gather your tools. Essential tools may include a drill, level, circular saw, utility knife, pry bar, and safety gear like gloves and goggles.
2. Demolition
Once your plan is in place, it’s time to demo the old kitchen. Remove cabinets, countertops, backsplash, and old appliances. Be sure to shut off electricity, gas, and water before beginning. Use a pry bar and hammer carefully to avoid damaging walls or flooring that will remain.
If you’re removing flooring, use a utility knife or scraper for vinyl or tile. For a DIY remodel, salvage what you can, such as cabinet hardware or fixtures, to save money.
3. Address Plumbing and Electrical
For this step, evaluate your skills. If you need to reroute plumbing or electrical wiring, you might need a professional to ensure it’s up to code. If no major changes are required, you can install new outlets, lighting, or fixtures. Upgrade to energy-efficient lighting and appliances to save on utility bills long-term.
4. Install New Cabinets
Once the space is prepped, it’s time to install new or updated cabinets. If you’re reusing old cabinets, sanding and painting can give them a fresh look at a fraction of the cost. Ensure cabinets are level during installation, starting from the upper cabinets and working your way down. Use shims as needed to ensure everything is even.
5. Update Countertops and Backsplash
Installing new countertops is often one of the most transformative parts of a remodel. Choose materials like laminate, butcher block, or quartz, depending on your budget and style. Measure and cut countertops precisely before attaching them with adhesive or screws.
For the backsplash, options like peel-and-stick tiles make it easy for beginners. Measure the wall, align the tiles carefully, and apply adhesive or grout for a polished finish.
6. Install Flooring
Flooring should be installed last to avoid damage during other renovations. DIY-friendly flooring options include vinyl planks, laminate, and tile. Start from one corner of the kitchen and work across, ensuring a snug fit and a level surface.
7. Add Fixtures and Appliances
Reinstall your sink, faucet, and any other fixtures. If you purchased new appliances, move them into place and connect them. Test everything, from the dishwasher to the oven, to ensure proper functionality.
8. Paint and Finishing Touches
Fresh paint can bring the entire kitchen together. Use high-quality, washable paint for walls and trim. Add finishing touches like cabinet hardware, light fixtures, and decorative elements. Small details like rugs, plants, or artwork can make the space feel inviting.
9. Clean and Enjoy
After completing your remodel, thoroughly clean the kitchen to remove dust and debris. Polish surfaces, wipe down cabinets, and vacuum the floors.
A DIY kitchen remodel requires careful planning, time, and effort, but it’s achievable with determination. Whether you’re updating cabinets or installing new floors, doing it yourself allows you to create a custom space while staying on budget. When it’s done, you’ll not only have a beautiful kitchen but also the pride of having transformed it with your own hands.

